What Does Each Audacity Effect Do for Glitch Art
What is "Databending"?
Databending is a method for producing glitch art by using software intended for one media format, and using it for others. In doing so, you can reach absurd furnishings with minimal attempt and knowledge. While at that place are many ways of achieving this (and many others for creating glitch art outside of databending), we'll accept a look at a simple and accessible mode of doing information technology with the free, cross-platform, open source audio editing software Audacity.
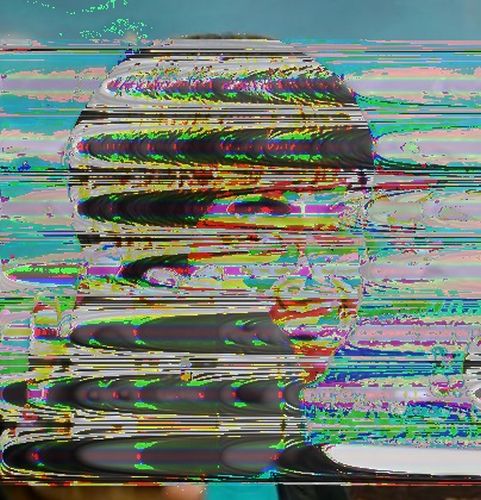
Outset, though, let's take a wait at some of the effects you can attain!

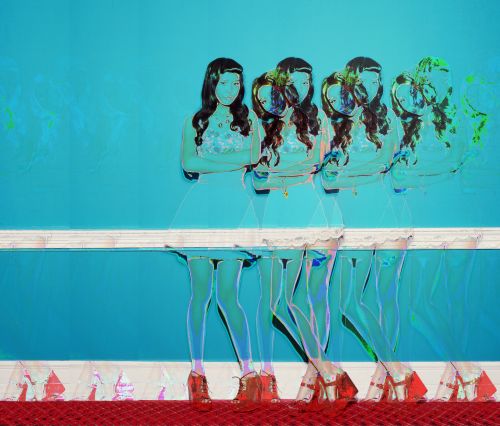
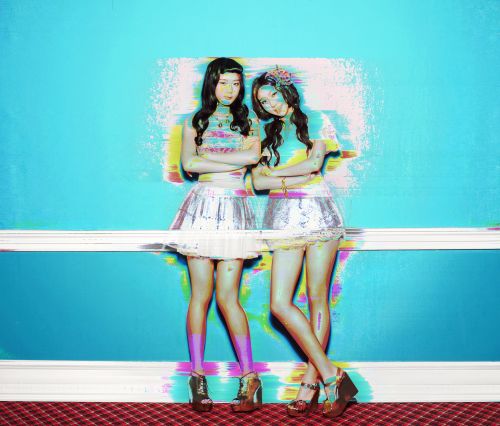
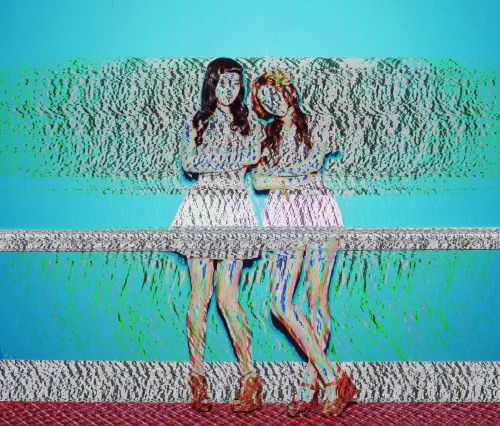
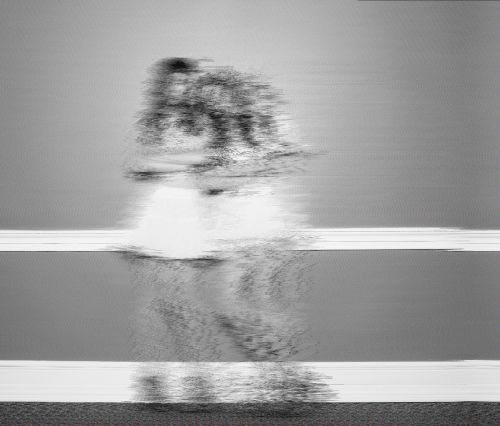
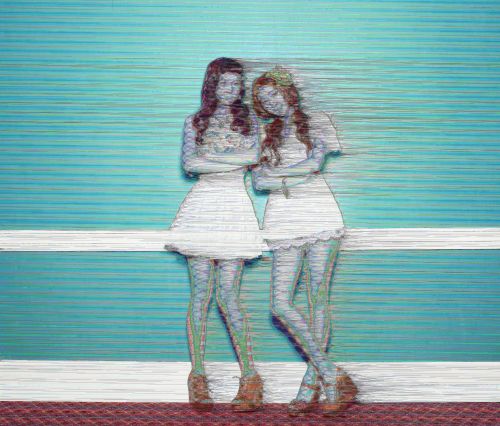
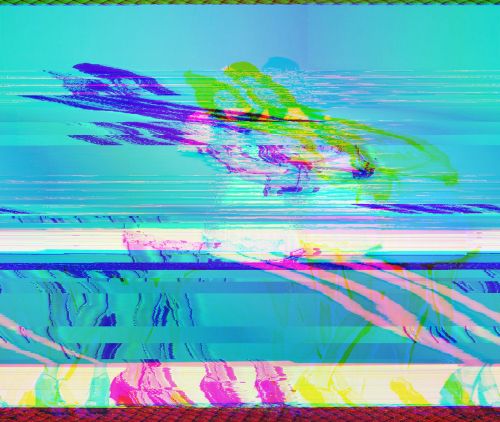
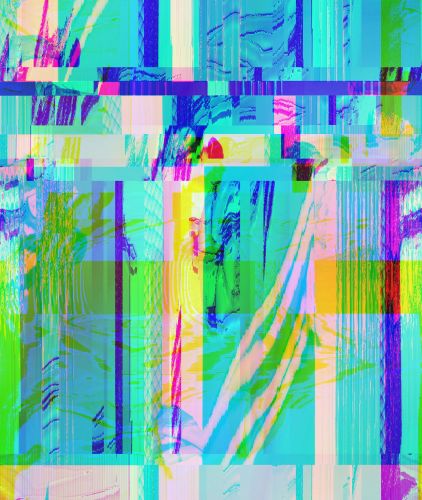
You tin create glitch art simply by using these techniques, or combine them with traditional paradigm editors to combine them into even more than unique pieces!
Getting our image into Audacity
Before we brainstorm making modifications, first we need to get our paradigm into Audacity. Accept your image, and save information technology as a bitmap (.bmp) file. You could potentially use other image formates, but BMP works specially well due to:
- Predictable header length When nosotros import our image in, nosotros must exist careful not to change the header that defines the size of the prototype, its color space, and other metadata. BMP files have a header size of fourteen bytes positioned at the starting time of the file, which is piece of cake plenty to avert!
- Unproblematic file encoding BMP files are formatted as a pixel assortment, with each element of the assortment describing one pixel's color value. When we apply different effects, this is ideal every bit each pixel could be modified individually if nosotros wished.
- Wide support Yous tin create a BMP from almost any image with the built-in image editing software on your figurer.
Importing
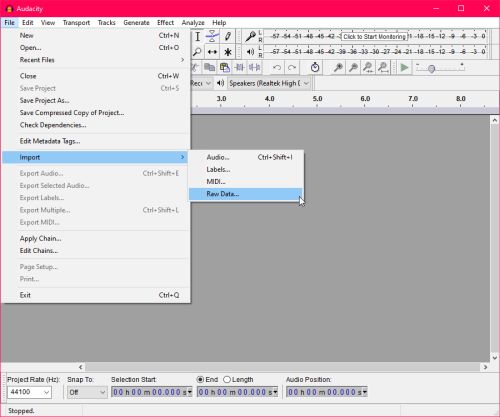
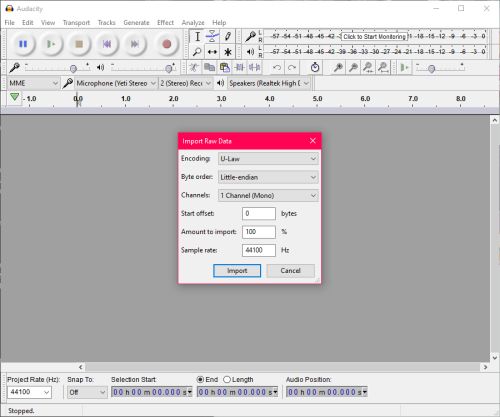
After we have converted our file to a BMP, we'll need to import it into Audacity. In a new Audacity project, get into the File menu, followed by Import > Raw Data. Open up your bitmap image and you'll exist presented with an "Import Raw Data" window. In here, alter your Encoding to either "U-Law" or "A-Constabulary" and note downwardly which one you lot chose. Both work equally well, simply you'll need to use the aforementioned encoding for both the Import and Export process or the resulting prototype will be corrupted.
You tin also choose how many "tracks" y'all'd like to import the prototype as. Each boosted track divides the image's rows betwixt them. For instance, if you lot import it as stereo, the left and correct channels will accept "every other" row. In essence, your left channel would become all odd-numbered rows while the right would get all even-numbered rows. three tracks would result in each having every 3rd row, and so on. If you aren't looking to exercise effects on private rows (and instead on the prototype as a whole) then information technology is suggested to import it as mono.
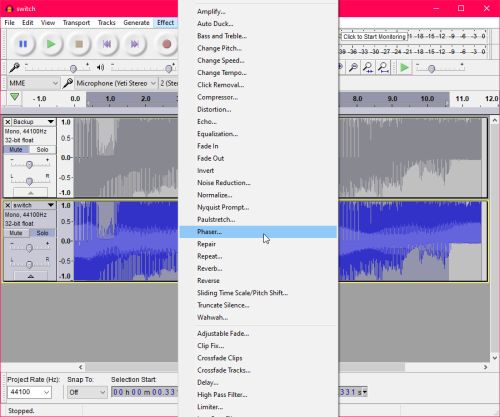
Click ok and yous'll run across your image imported as a waveform. It'due south at this time that it would exist a good idea to duplicate the track, and rename ane to "backup" in example you need you pull the header information from information technology afterward.

Databending our image
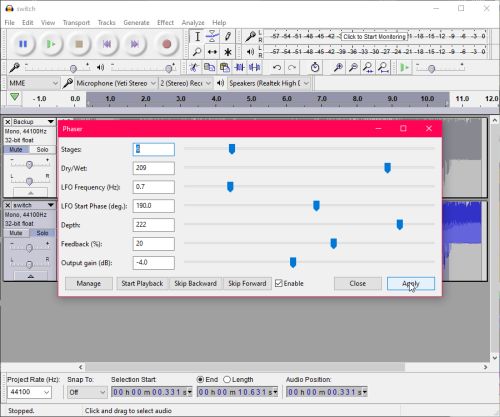
Finally, we can start making fine art! At this indicate, nosotros tin starting time clipping, editing, and running filters on the paradigm, and so long as we don't modify the file header. In about cases, if you avoid modifying the first 0.25 seconds of the waveform, yous'll avoid breaking the file. If yous do make such a fault, re-create the first 0.25s from the backup we had made. Yous tin can endeavour different effects by selecting a portion of the waveform, and then applying a filter from the Issue carte. For the sake of demonstration, let's apply the Phaser effect.
Once nosotros've finished applying our modifications, we can export the epitome!
Exporting our image
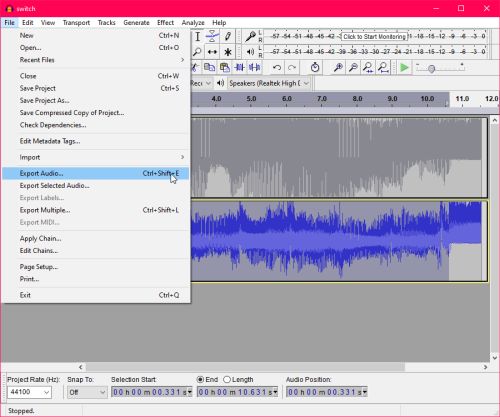
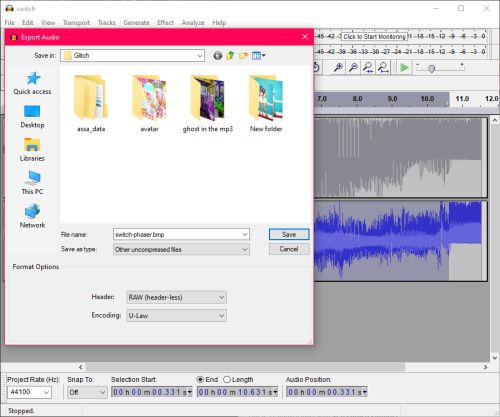
Just like before, we're going to get into the File card, but this time we'll click Export Sound. Rename your file to something new with the .bmp extension, and cull Other uncompressed files in the Save equally type dropdown. In the options at the lesser, set your Header to RAW (header-less), and choose the Encoding that y'all imported the file as earlier. Click save, and your image will be exported to the specified file. Open it up and cheque it out!!
Next Steps and Ideas
Now that you've learned this technique, play around a bit with other effects! Some suggested ideas include:
- Find out what happens when you lot fade different parts in or out
- Try your hand at importing the image as multiple tracks, and modifying each runway differently!
- Apply software like Photoshop to composite your databent pictures with others, or to combine multiple images built from the same source.
One time yous are feeling confident in this technique, try the post-obit:
- Using software like Photoshop, GIMP, or ImageMagick, try splitting an image into three images, one for the crimson, blue, and green colour channels. Employ furnishings on each aqueduct individually, and so combine them again in your called software.
- Using ffmpeg or virtualdub, split a video into individual frames. Apply effects on these frames, and then combine them into a video again!
As yous can encounter, this technique is a great jumping off point for new pieces, or tool to add a fleck ~more than~ to an existing slice. Give information technology a try and show me what you come upwards with on Twitter at @momosoftjesse
Source: https://momo.software/blog/tutorial/techniques-for-glitch-art-and-databending/
0 Response to "What Does Each Audacity Effect Do for Glitch Art"
Postar um comentário